How to Add Texture to a Wall: Tips, Tricks and Products to Try
A textured wall can become a lovely backdrop to any space.
In our years of using decorative paint in projects across the region, we have seen how textured walls can transform a room into a rustic or luxurious space, depending on the technique or product used. It also adds personality and depth and can make the walls easier to maintain. More than that, this interior design tactic can hide flaws resulting from imperfect drywall work.
If you want to enjoy these advantages but don’t know how to add texture to a wall, you’re in the right place. In this guide, we discuss the types of wall textures and different tricks experts use to dress up any space.
Understanding Wall Texture Levels
Before discussing different ways you can add texture to walls, let us first talk about the levels of wall texture you can achieve using any given technique. Knowing the smoothness or roughness of the resulting texture for various methods can help you make a decision you won’t regret.
Level 1
Level 1 finishes can give your walls the highest level of roughness. Examples include sand swirl, comb, popcorn, and the slap brush. Although these are uncommon in newer homes, such techniques can add a unique personality to a room when used in the proper context.
Level 2
Level 2 covers texture variations such as the knockdown and drag finishes. These stucco-looking imprints are typically made by dragging a tool over still-wet paint at random depths and patterns
Level 3
Level 3 textures are known for their ability to take most paints and hide imperfections. The orange peel is one of the most popular Level 3 finishes. This particular texture gets its name from the subtle dimples that resemble those found on the skin of oranges.
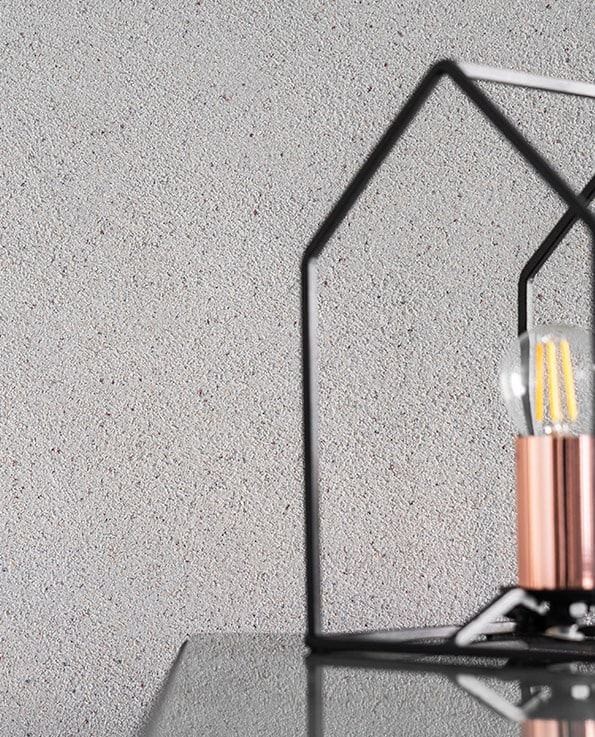
Shop Scinti
Level 4
Wall textures become smoother as the levels go higher. Level 4 textures are relatively smooth compared to the lower levels but have enough variation to create subtle shadow and light effects. Although it doesn’t conceal much of the wall’s imperfections, it is the perfect choice if you want to use flat paint.
Level 5
If you’re aiming for an expensive-looking finish, go for Level 5 wall textures. This finish is very smooth and works well with ultra-matte and high-gloss paints.
How to Add Texture to a Wall: Expert Tips and Tricks
Wall textures can be achieved using various techniques. Here are a few tips and tricks our experts recommend you try:
‘Comb’ wet paint
Did you know you can add texture to paint by “combing” while it’s still wet? This is one of the most commonly used techniques in texturizing walls because it is relatively easy to apply as long as you have the right tools.
Combing is also quite flexible. You can use a comb tool (or a notched trowel with “teeth”) to make lines, swirls, and waves to match the theme of your interior design.
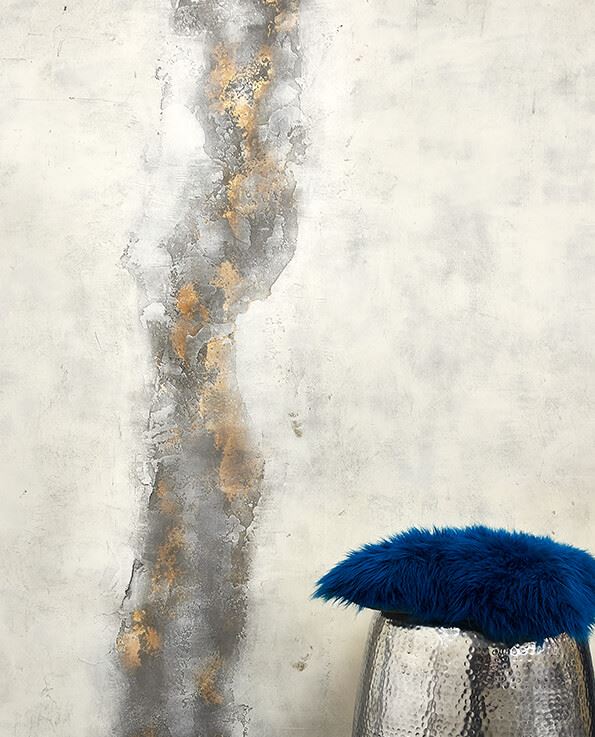
Shop Terre de Lune
Use stencils
Whether or not you’re the artsy type, stencils can make your quest to get textured walls much more straightforward. These tools are inexpensive and easy to use. You only need to think about a good color scheme that matches the stencil design, and you’re good to go.
You don’t need textured paint for walls to make this work. But if you want something that pops out more, consider using paste-based filler to create three-dimensional designs and bring out the finer details of your stencil.
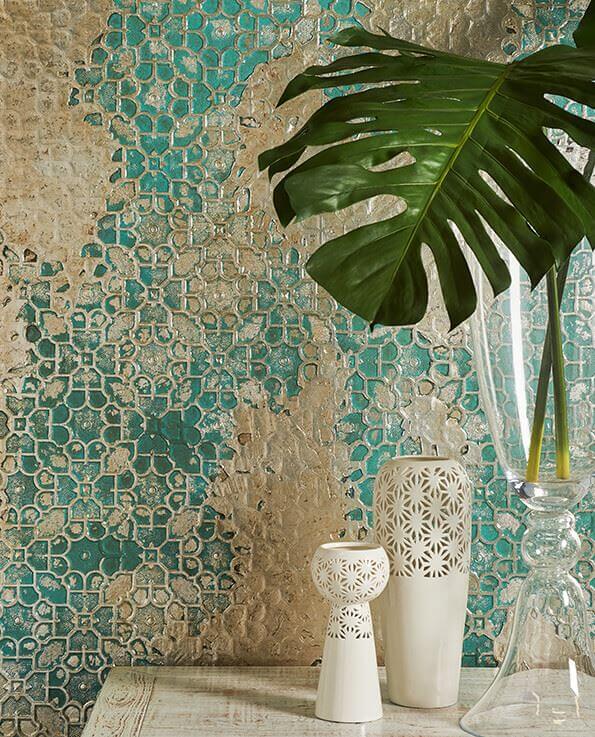
Shop Toile Tissée
Swirl some sand
Drywall experts use this technique to hide minute imperfections and add movement to walls. To achieve this rough but beautiful texture, they add sand or perlite to their primer mixture and brush overlapping circles. The result looks like the circular version of the combed texture.
Mimic natural stone
Real stones can be expensive, but that doesn’t mean you can give up on having a majestic stone wall for your home or office. Depending on the look you’re going for, you can use one of the following techniques:
- Sponging: This faux painting technique uses a sponge to apply paint onto the wall. The resulting texture from the sponge’s porous surface mimics the granite stone’s textured surface.
- Dry brushing: This method is perfect for making walls made from other materials look like concrete. Using a thick brush, dab the paint starting from the outer parts. As the brush dries, move closer to the center to create that dark-to-light effect concrete walls have.
If you don’t have the time or know-how to apply these techniques, consider using textured wall paint designed to mimic natural stone. These products already have that innate stone-like texture, so there’s no need to take extra steps.
Slap and brush
Want Level 4 or 5 texture on your wall? Consider the slap and brush method.
As the name suggests, this technique entails randomly “slapping” thinly mixed drywall compound using a crow’s foot brush. This allows you to create a haphazard embossed pattern on the wall. Let it dry for 24 hours, and apply primer and paint using a paint roller.
Discover Your Textured Wall Transformation
Transform your space with textured walls, effortlessly adding depth and personality and hiding imperfections. Explore techniques like combing, stenciling, and mimicking natural stone to achieve your desired look.
Check out our interior decorative paint products here at Equipaint and spruce up your home or office with rough-yet-elegant textured walls today.