Paint forms a protective film over your walls, protecting the bare substrate from dirt, dust, and contamination. It also serves an aesthetic purpose, as paint gives your walls texture and color. Additionally, it can protect your walls from water infiltration if you use waterproof paint.
What Is Waterproof Paint?
Waterproof paint has an enhanced resistance to moisture and humidity. Unlike regular non-waterproof wall paint, waterproof paint contains additives that transform it into an effective barrier between water and the substrate. This means it works to prevent moisture from seeping to and through, which can lead to discoloration, the growth of mold and, eventually, structural damage.
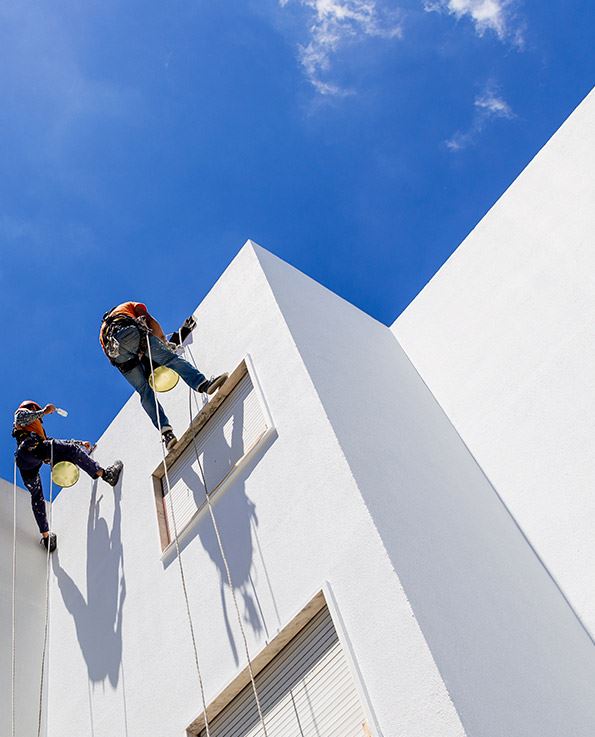
Waterproof paint is ideal for use on exterior walls which are exposed to rain, and in perennially damp and high-humidity areas like the bathroom, basement, and kitchen.
How do you use waterproofing paint? Read on to learn how to apply waterproof paint, including tips that can help significantly enhance its efficacy.
How to Use Waterproof Paint: Tips and Things to Remember
Remember the following when applying waterproof paint.
1. Check for and repair structural issues.
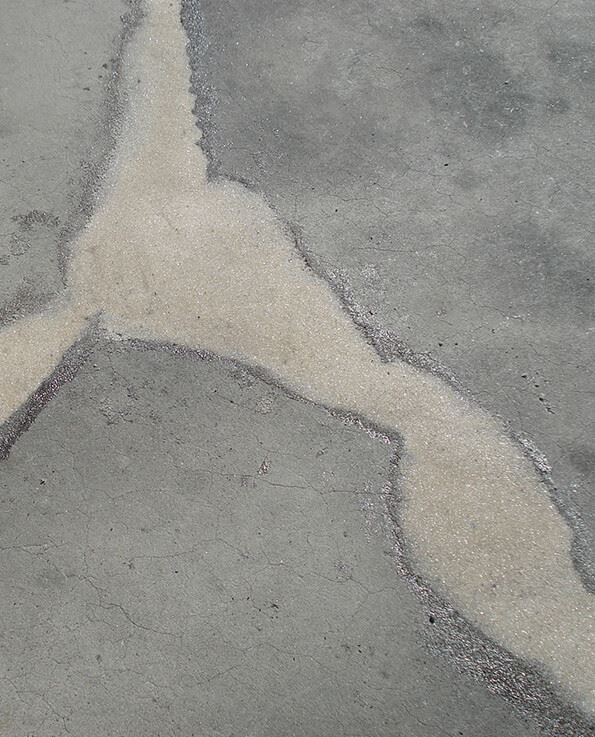
Waterproof paint can provide a moisture-repelling barrier only if the surface is structurally intact. If the wall has cracks through which water can pass, painting and waterproofing it will be ineffective against moisture intrusion.
Even if there are no cracks, check if the surface has existing dampness issues. For instance, a leaking water pipe or poor drainage will keep it damp, and using waterproof paint, in this case, will be nothing but a stop-gap measure.
If you want waterproof paint to do its job and provide long-lasting moisture and humidity protection, make sure to use it only on structurally intact surfaces without any persistent, underlying dampness issues.
To this end, make sure to do the following before you apply waterproof paint:
- Repair any cracks
- Repair leaking pipes
- Address any condensation and dampness issues
- Inspect and clean your gutters (if they are retaining water, they may cause rotting fascia boards and let water leak through)
2. Fix surface imperfections.
Waterproof paint must adhere to the substrate to work. The better its adhesion to the surface, the longer it can last and the more protection it offers.
An even surface is best for superior paint adhesion. Inspect the surface and check it for cracks, holes, and other imperfections. You’re looking for things like nail holes and dents.
For every cavity you find, use a cloth or brush to scrape away any loose dust and debris. You may have to widen cracks before you can successfully clear them of lingering particles.
After cleaning the holes and cracks, fill them with a spackling compound using a putty knife or your finger. Make sure to use spackle suitable to your substrate; i.e., use spackling putty made for concrete if you’re filling in concrete walls. Let the spackling compound dry.
For concrete floors, you may use concrete fillers with a grinder machine.
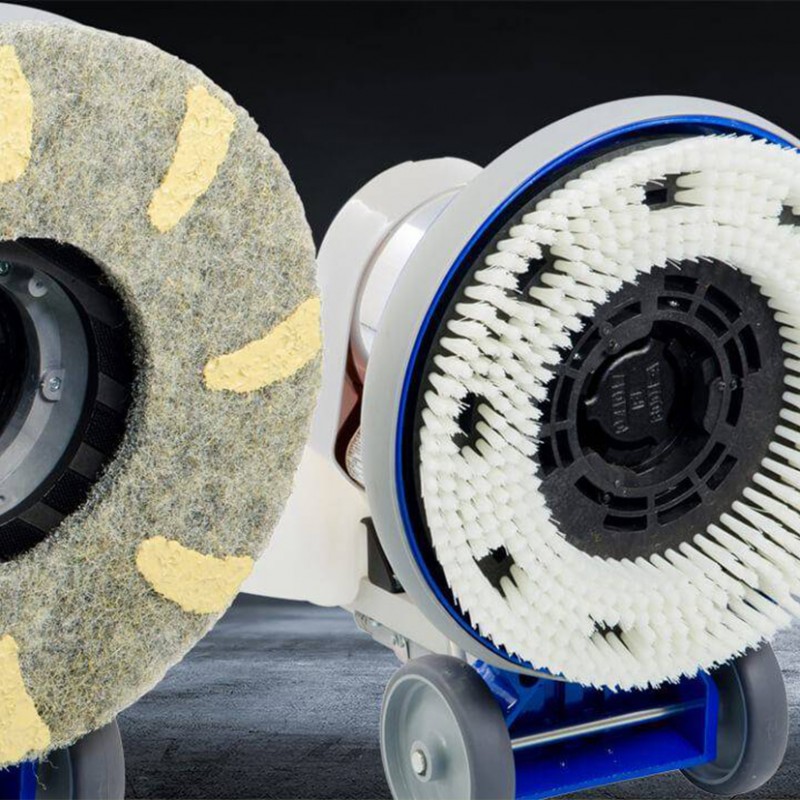
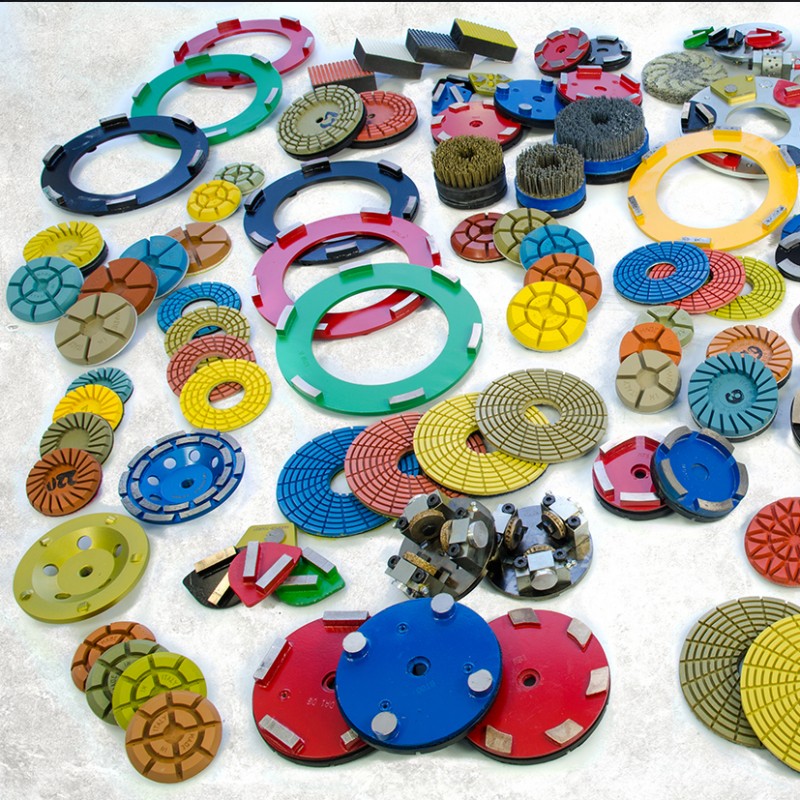
3. Sand or abrade the surface for adhesion.
Make sure you sand down the holes you filled and other rough patches to ensure the surface is even. Sanding will remove old paint and give the surface sufficient texture so the paint will have something to adhere to during application.
Use the correct grit of sandpaper. Lower-grit sandpaper will effectively remove old finishes, while higher-grit sandpaper will provide a smoother abrasion.
Sand the surface in circular motions, and use a sanding block if you’re doing the work manually; of course, sanding with an electric tool will be faster and better. You may use a floor grinder with the appropriate abrasive for prepping floors.
4. Scrub and wipe the surface clean.
After stripping off old paint and coatings and evening out the surface, scrub it free of dust and debris.
Remove any slimy algae or moss that might have grown on the surface. For this, you will need to clean affected areas with a 3:1 water and bleach solution. You can use a sponge, and let the water and bleach solution remain for a few minutes before scrubbing with a brush, then rinsing off several times with a clean sponge dipped only in water.
For general cleaning, use warm water and detergent. You can wipe walls with a cloth dipped in the soapy water and wrung out so it’s not too wet. Rinse the area by wiping off the soapy residue with another wet, detergent-free cloth. Use a soft brush for scrubbing stubborn dirt.
Let the surface dry before proceeding to the next step.
5. Cover the sections you don’t want to paint.
Once the surface is fully dry, tape off the sections you don’t want to paint. Examples include wainscoting and baseboards.
6. Prepare the surface for paint.
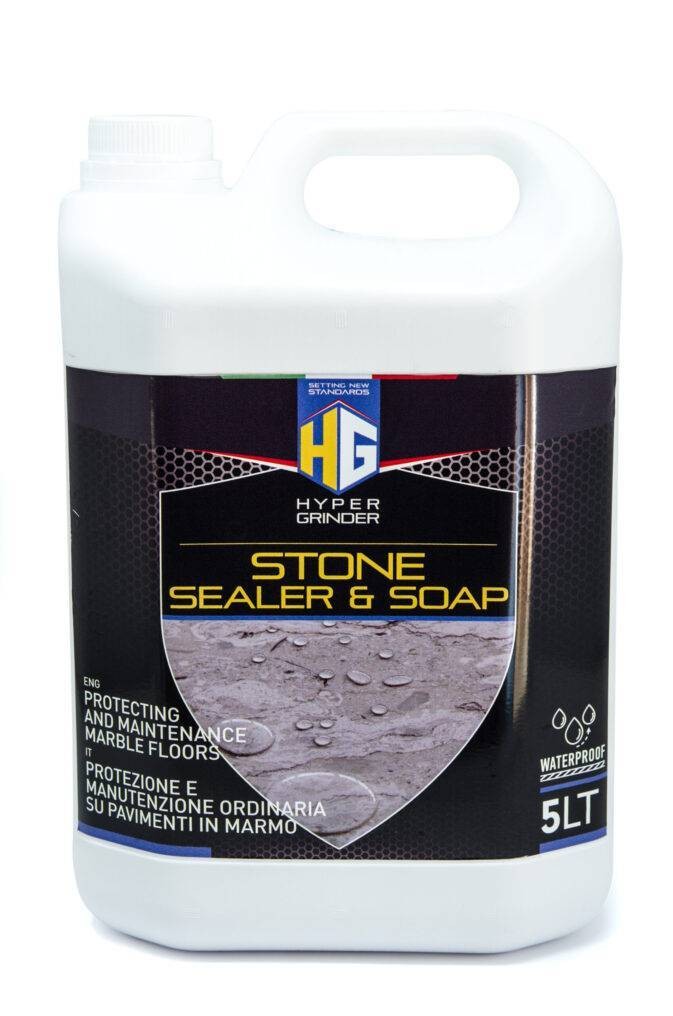
Apply a sealer, a primer, or an undercoat to prep the surface .
A sealer is ideal for painting a particularly porous substrate, like gypsum plaster or crumbly concrete. The sealer will bind up and fill the crumbly surface, reconditioning it, blocking off stains, sealing up damages, and even providing some waterproofing benefits, all while providing excellent adhesion for finishing substances.
Some sealers are even indicated for use before sanding; such sealers can help a surface attain a more even porousness after sanding. Some sealers may also be used under a primer.
A primer goes on the bare substrate (or the sealer or some industrial coating) right before the undercoat or multiple coats of paint (i.e., the waterproof paint, in this case). Its primary function is:
- To create a layer for the paint to adhere to
- To protect the substrate (at least before painting)
- To create a barrier beyond which paint can’t go (this ensures the paint will not sink into the substrate and lose its gloss)
A primer is best applied on a new surface. Thus, stripping off the old paint before priming it for waterproof paint is recommended.
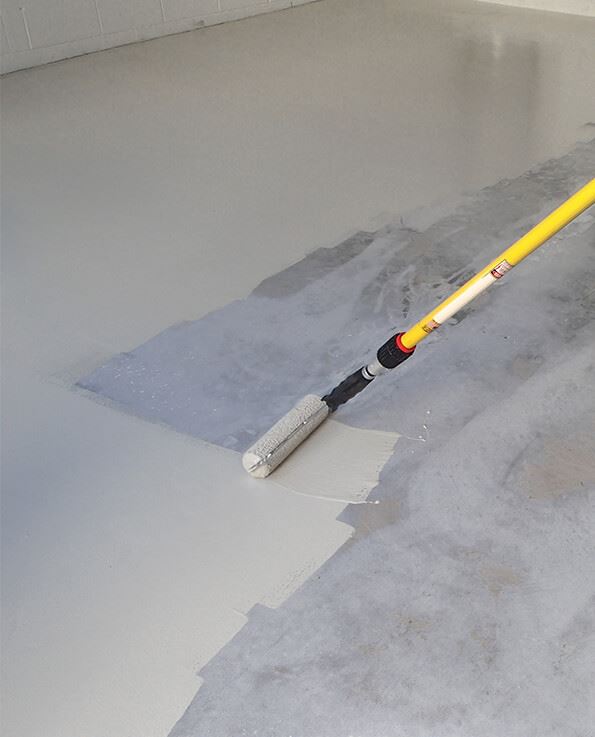
Apply an undercoat over a sealer or a primer. Do this before adding the topcoat for a smooth and even base for the finishing paint. Of course, most people now use one paint as the undercoat and topcoat.
Additionally, you may choose to use a dedicated waterproofing coating. There are clear, water-based coatings suitable for waterproofing stonework and brickwork surfaces, among others.
There are also cementitious waterproofers that create a cement barrier to protect surfaces from water intrusion and humidity. Their rigidity means they cannot be exposed to direct sunlight and weathering. They are typically used in toilets and other interior spaces.
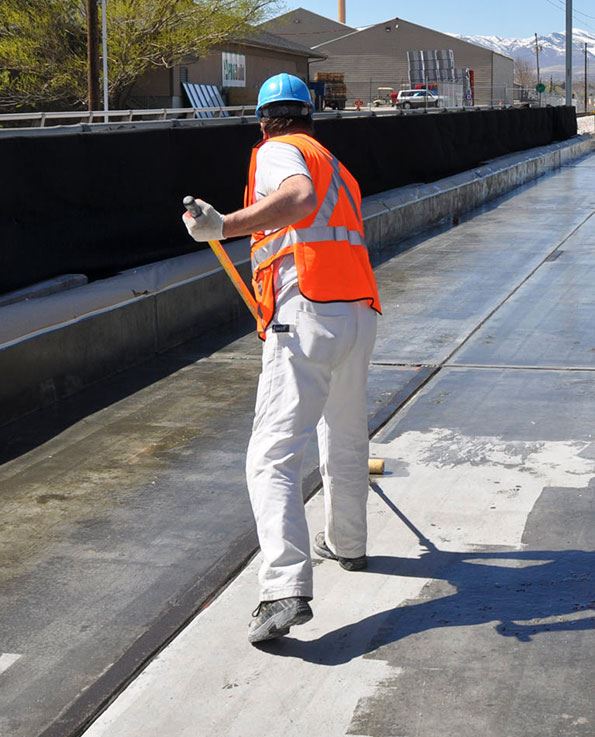
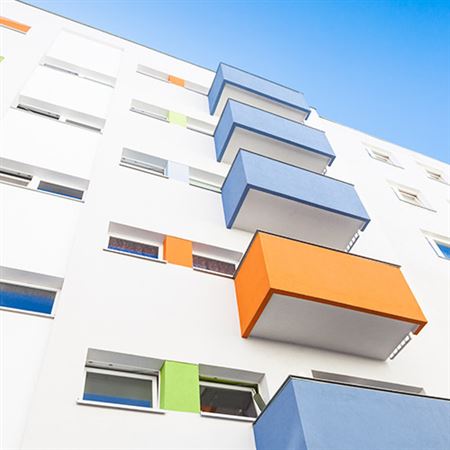
Finally, there are waterproofing coatings for exterior surfaces, including exterior walls, roofs, balconies, and swimming pools.
You can use a roller to apply primers, sealers, or coatings to surfaces, although you may use a brush initially to define the edges before using a roller to fill in the area.
7. Use the right products.
Whatever you use to prepare your surface for painting, whether you use a primer or sealer and whether or not you use a dedicated undercoat or apply dedicated concrete coatings, make sure to use a product suitable to the substrate and the paint you’re using.
As a general rule, an oil-based waterproof paint primer does not go with latex or acrylic-based waterproof paint. Water-based primers are suitable for these products. Additionally, make sure to use a primer made for the substrate; you will need a different primer for wood than for masonry.
If you have no idea which primer goes with which paint, ask your contractor, architect or trusted paint supplier.
8. Time your paint job right.
Remember to prime, seal, or otherwise prep the surface for painting on a warm and dry day. It should not be sweltering, freezing, or highly humid.
It’s best to apply two to three coats of primer, sealer, or industrial coating for adequate surface preparation, and you must wait for the product to dry completely before applying a subsequent coat.
Don’t add another layer of primer, sealer, undercoat, or coating until the previous coat is completely dry. Likewise, you cannot paint over a surface before the last coat is completely dry.
Follow package instructions about preparation, application, and curing times.
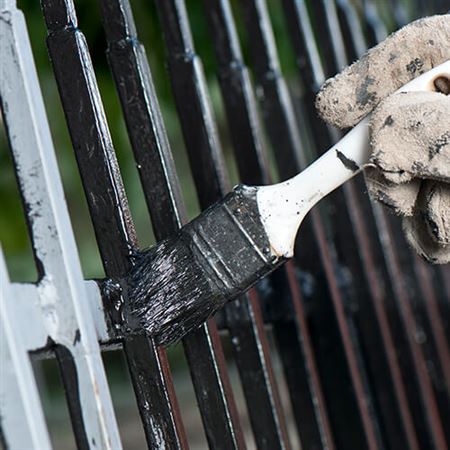
9. Apply multiple coats of paint
Once the surface has been adequately prepared and cured, you can start applying waterproof paint. You can define the edges with a brush and then paint using a roller.
How many coats of waterproof paint do you need?
Apply at least two coats; ideally three. As usual, wait until the previous coat has fully cured before adding another coat of paint.

To enhance the longevity of your paint job, apply at least two coats of transparent protective varnish over your waterproof paint. When using high-gloss protective varnish specifically, you may be able to apply three coats without dulling your decorative finish.

Finally, remember to refresh your paint job every few years.
Preparation Is Key to Success
Applying waterproof paint is a meticulous and drawn-out process. However, you cannot skip any preparatory steps and jump right into waterproof paint application if you want high-quality lasting results.
Remember the above tips on how to use waterproof paint, and it will be all worth it when it successfully keeps your structure free from water damage.
Equipaint is the authorized distributor of COLORTEK in Dubai and Doha, providing designers, architects, and contractors with expert architectural coatings and decorative finishes.
Contact us to explore our range of premium painting solutions, including coatings, sealers, fillers, and waterproof paint.